To create a bank access for a colleague, you first select a colleague. You also select a bank access from the created customer bank accesses or a global bank access. Subsequently you add data and save the bank access.
Afterwards, your colleague can initialise the saved bank access.
|
Colleague means a user of your own customer whose data you can manage due to your rights assignment. |
You are assigned the rights Protocol user bank accesses: read (customer) and Protocol user bank accesses: edit (customer).
 .
.
The bank access is ready for your colleague.
The colleague you assigned this bank access to is informed after his next login via a notification on the start page that a new bank access has been created which he can initialise.
|
1. |
Select . |
||
|
2. |
Open the data record of a user in edit mode. |
||
|
3. |
Select the tab Bank accesses. |
||
|
4. |
Click on |
||
|
5. |
Select Create FinTS bank access. |
||
|
|

|
||
|
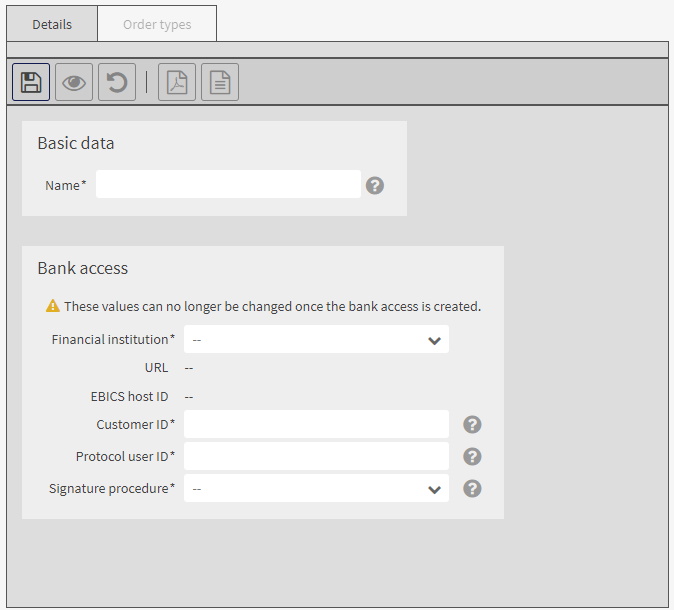
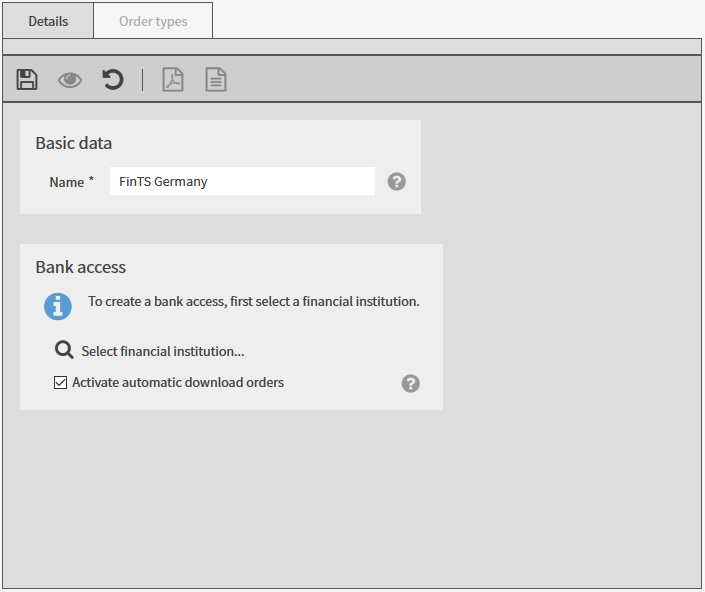
6. |
In the mask area Basic data enter the name of the bank access. |
||
|
7. |
In the mask area Bank access click on Select financial institution....
|
||
|
8. |
Select a financial institution and click on Accept.
|
||
|
9. |
If the colleague is permitted to use this bank access for the execution of automatic download orders with the download agent in the menu File manager, activate the checkbox Activate automatic download orders. Please note that costs can arise from TAN requests via a mobile device. |
||
|
|
|
||
|
10. |
|||
|
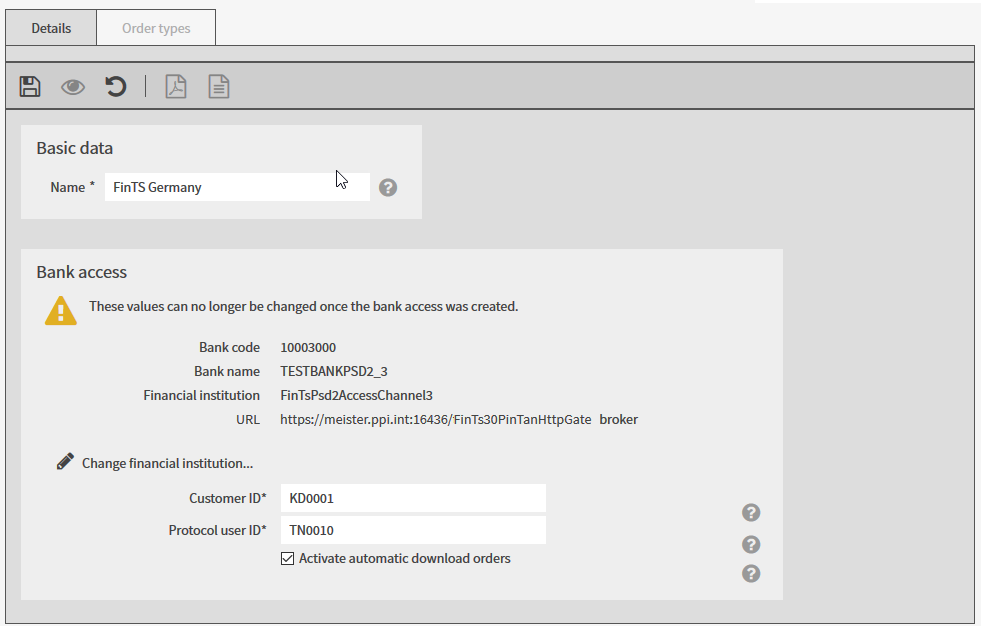
11. |
Enter the customer ID and the protocol user ID your colleague uses to identify himself at the financial institution. Note: If your financial institution has not provided you with a protocol user ID, enter the customer ID for the protocol user ID as well. The names Customer ID and Protocol user ID can be different at your financial institution. If your financial institution uses other names, they will be displayed in this mask after you complete the initialisation of the bank access. |
||
|
12. |
Save the data. |
||
|
13. |
Go to the tab Order types. All assigned order types are displayed.
|
||
|
14. |
Check if the assignment of the order types for the bank access of your colleague is correct. |
The bank access is ready for your colleague.
The colleague you assigned this bank access to is informed after his next login via a notification on the start page that a new bank access has been created for which he must enter a PIN and which he can initialise.