You select a bank access from the created customer bank accesses or a global bank access, add data and save the bank access.
Afterwards, you can initialise the saved bank access and assign order types to it or, in the case of using EBICS 3.0, BTFs.
If a push server has been set up for your assigned global bank access, a list of the selectable notifications is displayed on the tab Notifications.
You have been assigned the right EBICS user bank access: read (own) and, depending on which task you want to perform, the rights EBICS user bank accesses: edit for customer bank accesses (own) or EBICS user bank accesses: edit for global bank accesses (own).
The bank accesses can be edited by a user and are not defined by the financial institution.
|
1. |
Select and the tab Bank accesses. |
||||||
|
2. |
Click on |
||||||
|
3. |
Only if you can also create FinTS bank accesses: select Create EBICS bank access. |
||||||
|
|

|
||||||
|
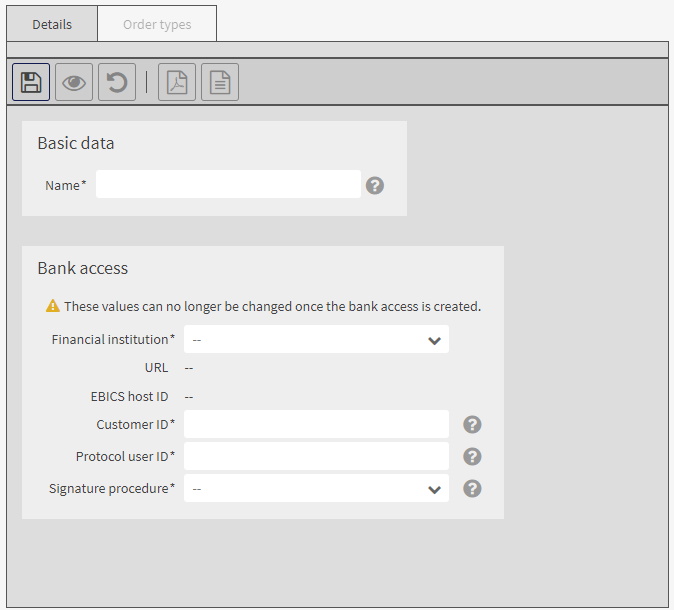
4. |
In the mask area Basic data enter the name of the bank access. |
||||||
|
5. |
In the mask area Bank access, enter the data of the bank access. |
||||||
|
6. |
Only for French bank accesses (EBICS profile EBICS-FR): Select the profile of the bank access.
|
||||||
|
7. |
Do not change the default value in the field Signature procedure. The value is preset by your financial institution. |
||||||
|
8. |
Save the data. |
||||||
|
9. |
To initialise the bank access, click on Initialisation wizard.
|
||||||
|
10. |
After having initialised the bank access, assign order types to the bank access or, if EBICS 3.0 is used, BTFs.
|
||||||
|
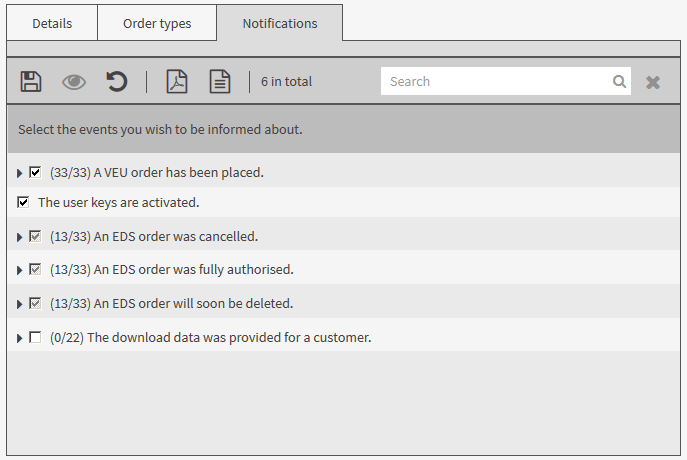
11. |
If a push server has been configured for your global bank access: to configure your notifications, switch to the tab Notifications. |
||||||
|
|
|
||||||
|
12. |
In the edit mode choose the events for which you want to receive notifications.
|
||||||
|
13. |
Optional: after having initialised the bank access, assign ordering party accounts to the bank access.
|
 .
.
The mask-specific buttons have the following meaning:
|
Button |
Action |
|
Start initialisation |
Starts the wizard for initialising the bank access The procedure is described in the section Initialising a bank access. |
|
Reset bank access |
Resets the user keys for an already initialised bank access To be able to submit orders to the financial institution via a reset bank access, the user key must be reinitialised. You cannot send payments via this bank access until the keys are activated by the financial institution. Section Initialising a bank access explains how to initialise a bank access. |
|
Lock bank access |
Locks a bank access No orders can be submitted via a locked bank access. The status of the keys remains unchanged. |