You can explicitly lock or release the following text keys for users:
|
|
Purpose codes |
|
|
Business transaction codes (GVC) |
|
|
Codes of the type domain (subfamily) |
|
|
Content type for account-related information, provided the authorisation for e-documents is available (not included in the standard application) |
You have the following options for this:
|
|
For each user, you can store a list of text keys that are to be locked for the respective user. In general the user cannot process any orders or view account-related information in the inbox containing one of these text keys. Note: The application supports the submission of batch payments via service data centres (SDCs), which are frequently used, i.a. for salary payments. The user sends these batches to the financial institution via the file outbox. Users whose authorisation to, for example, view salary payments has been revoked by means of the corresponding text keys may release, sign, reschedule and send batch payments without viewing their contents. The single payments of the batch which contain text keys prohibited for the user may not be viewed by that user. They are filtered from the list of single payments. Users can therefore only view single payments they are permitted to see. |
|
|
For each user, you can store text keys that are to be explicitly permitted for the respective user. The user can only view payments with these text keys. |
|
|
If there are predefined configurations regarding locked or released text keys for your branch, you can select these defaults. |
The application checks the text keys when the user performs the following actions:
|
|
Downloading and exporting account statements |
|
|
Downloading or viewing account-related information in the inbox |
|
|
Creating and saving payment orders |
|
|
Displaying single transactions in the signature folder (not supported by all EBICS servers) Note: As a rule, the text keys cannot be checked in the signature folder as the EBICS protocol does not yet provide text key information for single transactions. |
The following describes how you can create lists with locked or released text keys for users of your customer.
You have the required right with the required validity level (action right Text keys: read (required validity level) and Text keys: edit (required validity level)).
|
1. |
Select . |
||||
|
2. |
Select the user via double-click. |
||||
|
3. |
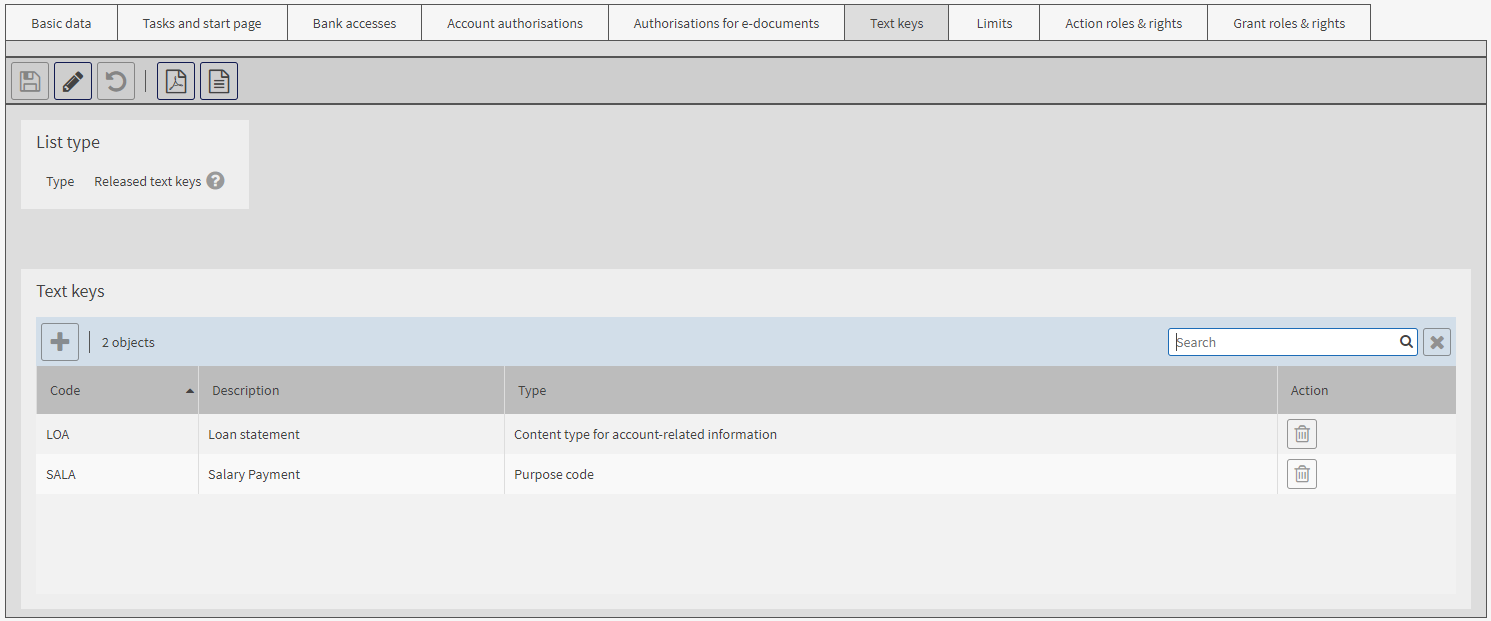
Select the tab Text keys. |
||||
|
|
|||||
|
4. |
Switch to edit mode. |
||||
|
5. |
In the mask area List type, select which type of list you wish to create.
|
||||
|
6. |
If your administrator has defined text key templates, in the mask area Select a template for the list type and text keys click on Select template.... |
||||
|
7. |
To add text keys, click on |
||||
|
8. |
Expand the list of available text keys via
|
||||
|
9. |
Confirm by clicking on Add.
|
 .
. and select the required codes or enter them directly into the list field.